Rejected filings occur for many reasons. Typically it’s either for an incorrect document, the wrong document type, missing fees, or wrong court location, and/or case type. Since the clerk review module does not allow for Filing Clerks to make changes to a filing, if they find any mistakes upon review, they will deny the submission, and mark it as Returned for Correction. Then, the court notifies the filer via email which gives them the opportunity to make any necessary corrections to it before re-submitting it to the Court.
Note: If the clerk partially accepts a filing, the user will need to start a new filing, and then resubmit the rejected portion. The court does not allow for re-submission of Partially Accepted filings.
Correct a Rejected Filing
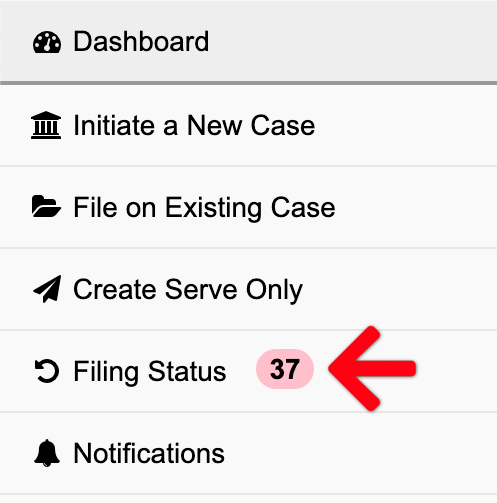
From the Dashboard, click Filing Status from the left menu.
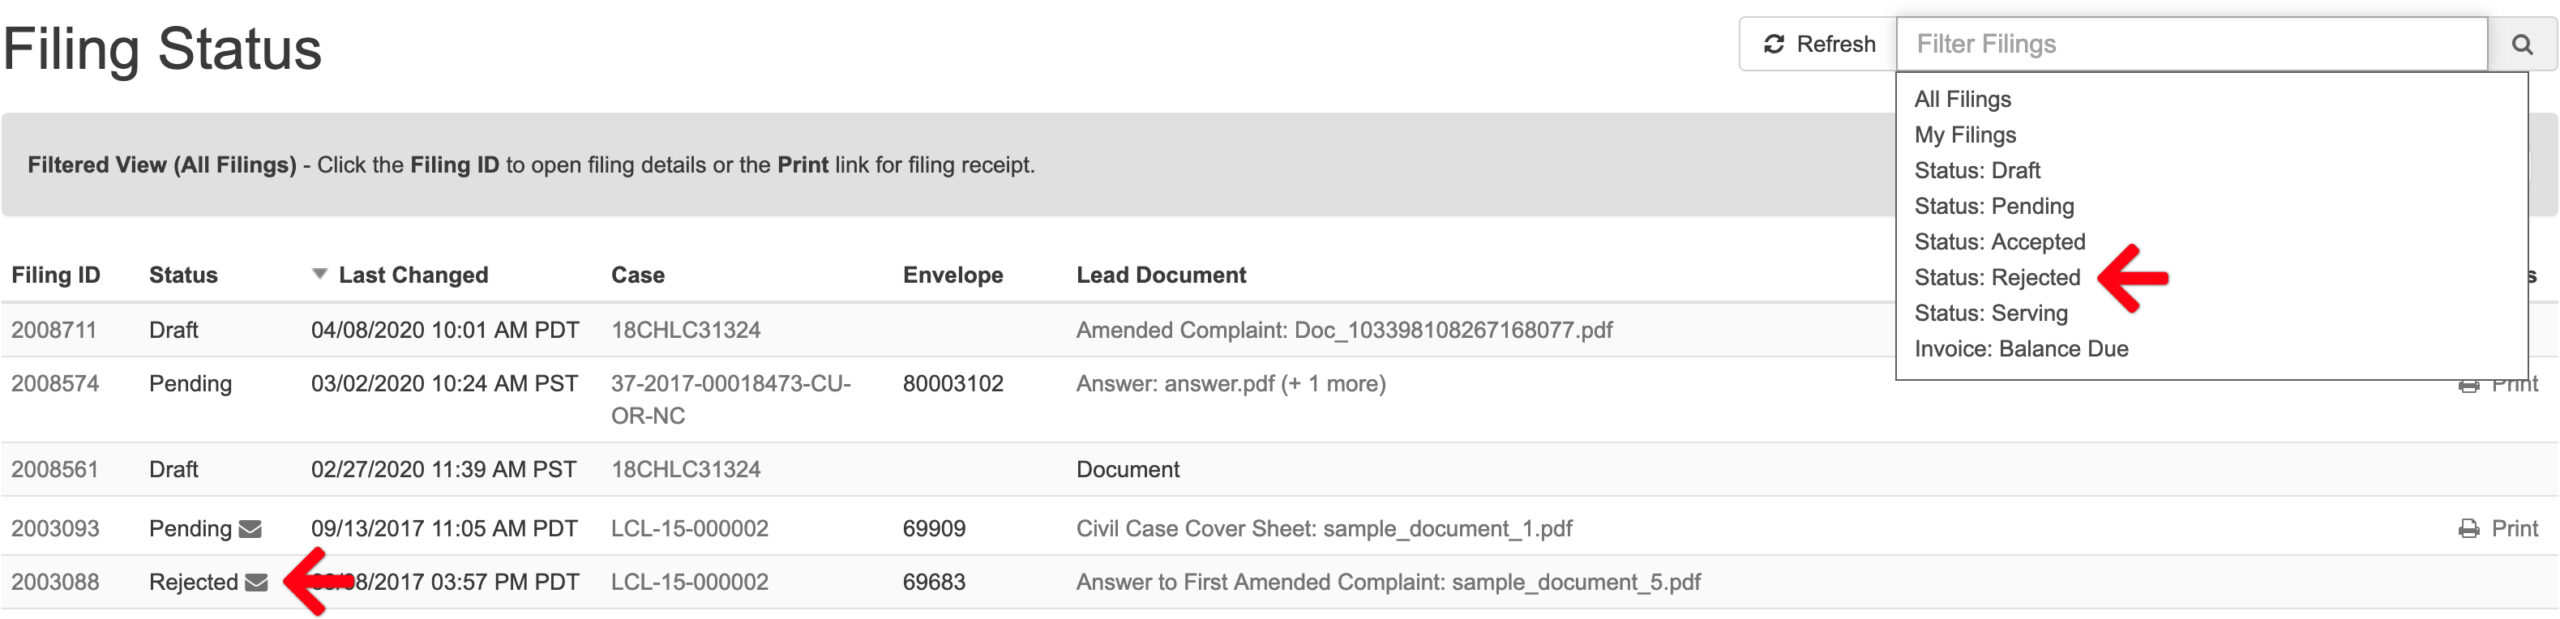
This brings up the Filing Status screen. Here a user may either click a Rejected Filing ID or Filter all rejected filings in the filter box on the upper right. Then they may click the appropriate filing ID.
When the rejected filing comes up, a filer may make their changes in the rejected filing or start a new filing. However, if the clerk partially accepts a filing, the filer will need to start a new filing, and then resubmit the rejected portion. The court does not allow for re-submission of partially accepted filings.
Filing Activity Log
If the filer does not know the reason for the clerk’s rejection, they may scroll to the bottom of the filing to find it in the Filing Activity Log section.

Change/Delete Documents and Document Types
If the filer needs to Edit the document type (i.e., change the document type), Delete a document, or Replace one, they will want to click the Edit button in the last column of the Add Documents section.
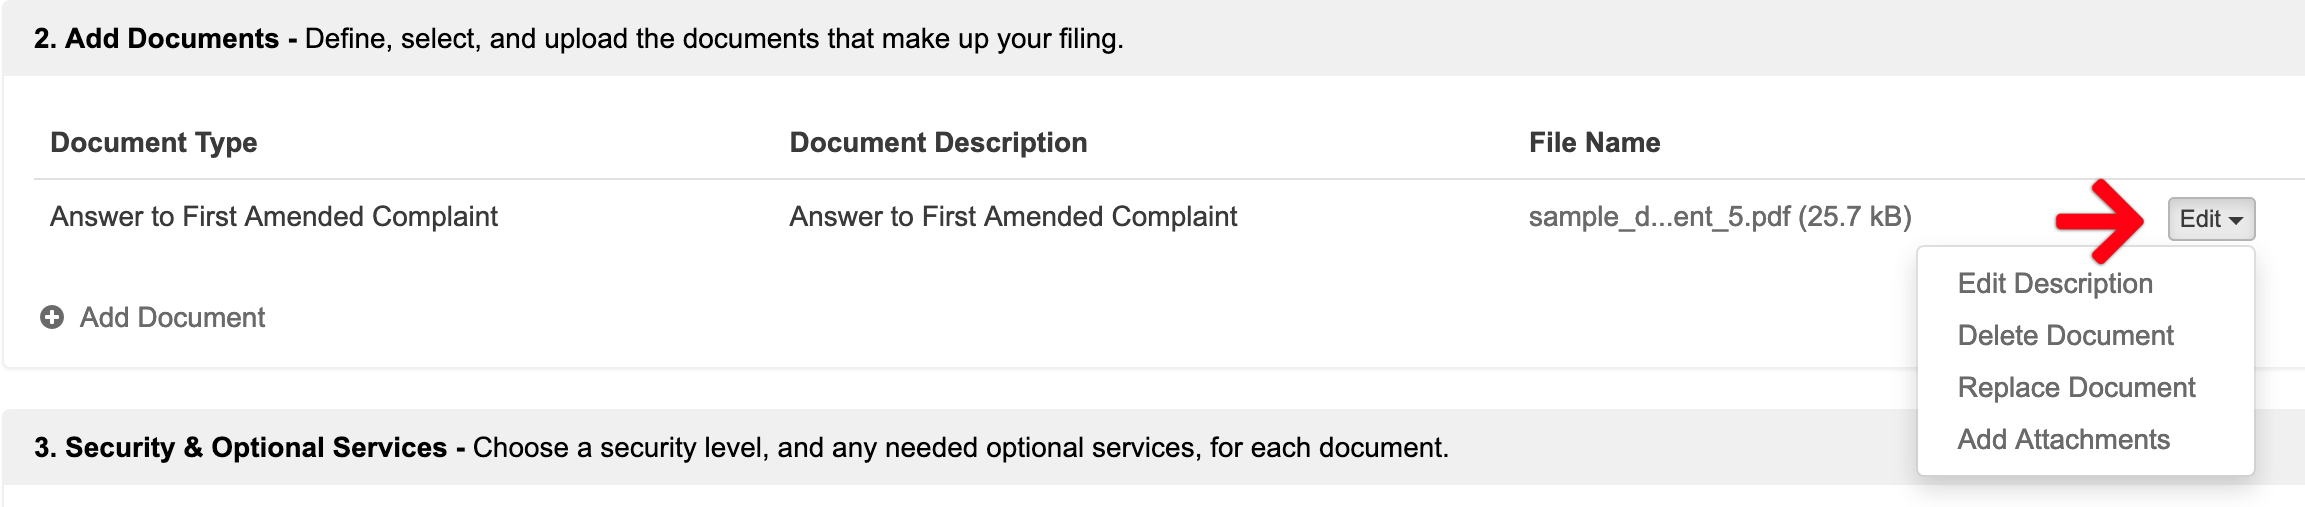
Note: Always remember to click the Save button where the Edit button used to be in the last column AFTER changing a document type.

Add Missing Fees
It is important to note that fees auto-populate from the court based on the Document Type selected in Section 2, AND any Optional Services selected from that drop down in Section 3. (Note: Los Angeles Civil filers will not have an Optional Service section.)
If the clerk is asking for a fee, the filer will want to check in these to sections.
2. Add Documents
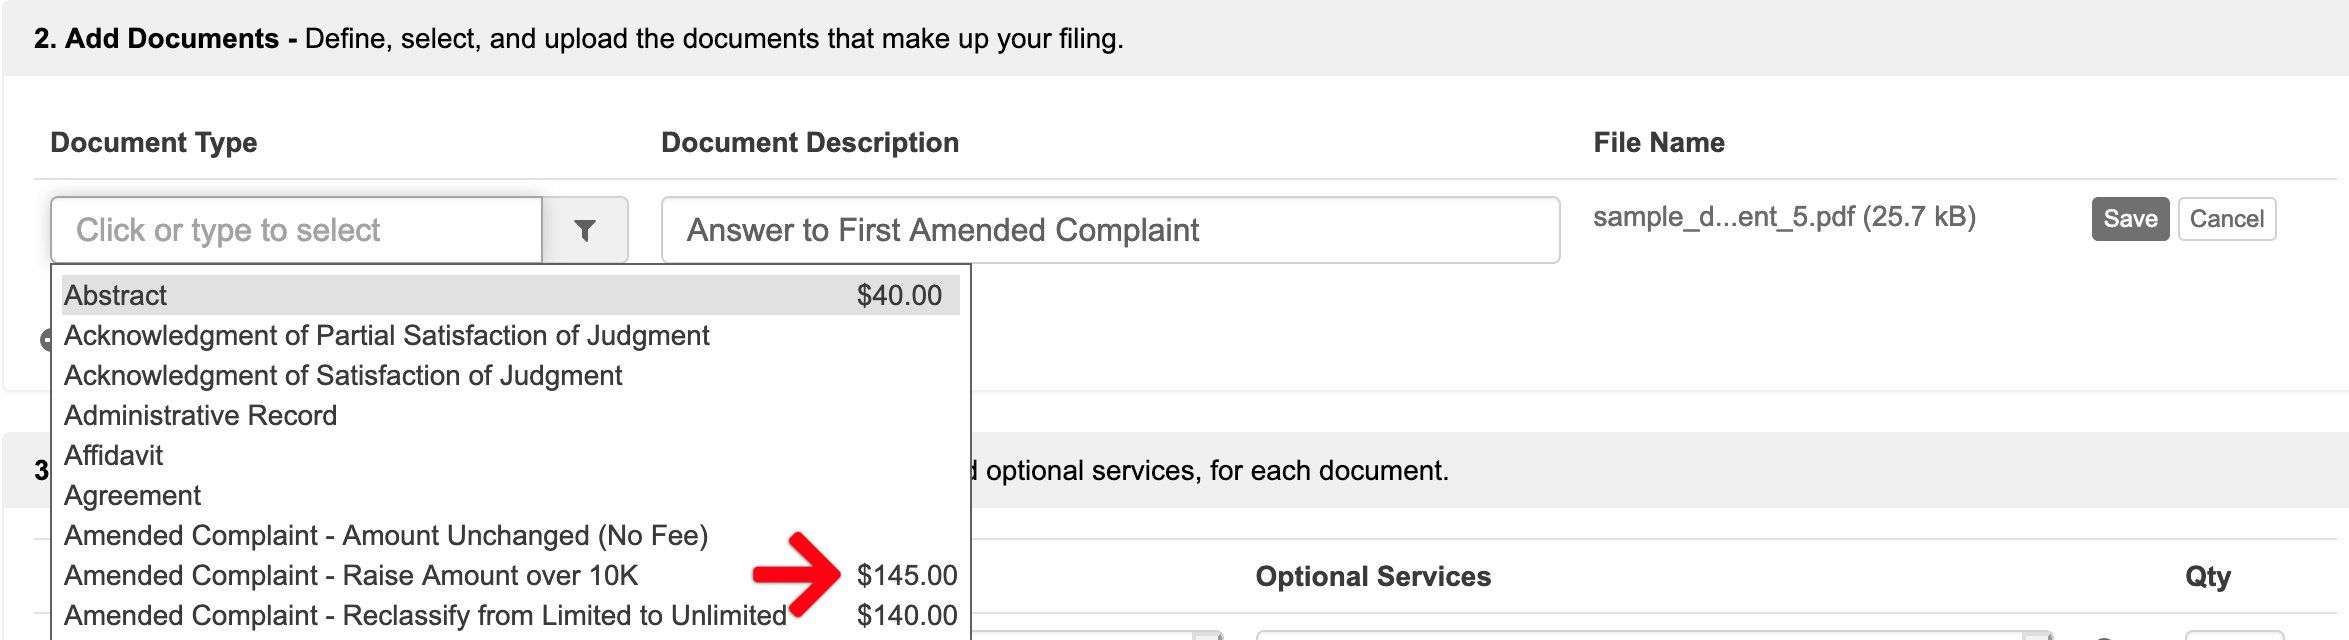
3. Security & Optional Services

Wrong Court or Case Type When Initiating a Case
If the filing clerk rejects a Case Initiation due to the filer selecting the wrong Court or Case Type, it is easiest to start a brand new case initiation. Otherwise, in order to change those two in a rejected filing, the filer would need to delete everything below Section 1 first. Then they may change the Court and/or Case Type and re-add all subsequent documents, parties, and information before re-submitting the filing to the court.